Running BitTorrent Sync on AWS or: how to get peace of mind for pennies a month
I’ve been an avid user of BitTorrent Sync for a year or two now, and although it can be finicky at times, I’m still happy with my switch away from hosted services like Dropbox. With the current state of security on the internet, I felt the urge to take matters into my own hands. I store all of my passwords in 1Password, and having all of that information stored in Dropbox made me uneasy.
I took the plunge and bought a Netgear ReadyNAS 104. It’s only an entry-level NAS, but it’s worked out great for me so far. I immediately installed BitTorrent Sync on it to start syncing everything that I previously had in Dropbox.
All was well and good for many months. I had more storage than I knew what to do with. I was laughing at all of those idiots who were paying $10/mo for 1TB of space when I was paying $0/mo for 4TB. Then I thought: what if my house burned down? Like, right now?
Well… shit.
Realizing that the existence of all of my most important documents was reliant on the fact that all of my computers were working (and not burnt to a crisp) was scary, to say the least. It might sound extreme, but you should never put all of your eggs in one basket.
Hello AWS
So it turns out, it’s pretty hard to completely escape the cloud. Unless you have a friend you trust who is willing to host an off-site back up of your files at his house, you’re pretty much stuck with it. The good news is that it’s insanely cheap. Literally, pennies a month. AWS has a free tier for EC2 that we can take advantage of. All you have to pay for is data transfer.
Important note: The free tier is limited to 30GB of storage, but you can increase this for $0.10 per GB. If you do some quick math, you’ll find that increasing the storage can get more expensive than other cloud services pretty quickly. I highly recommend only backing up your most important documents and photos to AWS (this is configurable with BitTorrent Sync).
Provisioning an Instance
I’m going to assume you’ve already signed up for an AWS account. Log into the console, make sure you’ve selected a region that’s close to you, go to the EC2 page, and click the Launch Instance button. At the time of writing, there are 4 different Linux distributions that are supported on the free tier. Honestly, it doesn’t matter which one you choose. I went with Amazon Linux. Choose one you are most comfortable with.

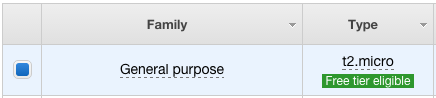
On the next page, leave the first instance type selected. It should be t2.micro, and it’ll say “Free tier eligible” underneath it. Make sure to hit the Next button and not the Review and Launch button to continue.
All of the defaults for the 3rd step should be fine. Click the Next button to move on to storage configuration.
As mentioned above, the free tier on EC2 allows up to a max of 30GB of storage. If you absolutely need more, you can specify more here, but they will charge you $0.10 per GB. If you go above 30GB, you can also choose magnetic disks as well to save on costs, since they are only $0.05 per GB. One thing I would do is uncheck the Delete on Termination box. If you ever accidentially terminate your EC2 instance, it won’t delete all of your backed up files with it. You can manually delete the volume later, if desired.

On the next step, you can give your instance a name. It’s optional, but I named mine bittorrent-sync. It especially helps if you have multiple EC2 instances running.
On the 6th and final step, we get to configure what services/ports are open to the instance. We want to leave SSH open so that we can get in and install BitTorrent Sync. Click Add Rule and enter a random port number between 0 and 65535. A lot of popular services use ports under 10000, so I would pick something like 18574 or 15764. You get the idea. Make sure to write this port number down for later, or if you forget, you can always find it in your AWS security settings. You’ll also need to add port 80 for the web interface.
When all is said and done, your security configuration should look something like this:

Review your settings on the next page, and when you’re ready, click Launch. A window will pop up asking you about key pairs. If you’ve done the EC2 rodeo before, you can choose an existing key pair. Otherwise, create a new key pair, give it a descriptive name, and for the love of all that is holy make sure you download it. If you don’t, you’ll have to start over from scratch. When you’re ready, hit Launch Instances, then View Instances.
The instance will take some time to start up. Once it switches from pending to running, you can connect to it! Click on the instance, and in the details below, look for Public DNS. You use this address to connect to your instance.

Setting up BitTorrent Sync
Copy the address and go to the Terminal. When you SSH into it, you’ll have to specify the key pair file you downloaded previously. Your SSH command will look something like this:
ssh -i /path/to/key.pem ec2-user@ec2-54-86-186-198.compute-1.amazonaws.comPROTIP: the default user for Amazon Linux is ec2-user, whereas the default user for Ubuntu is ubuntu. More information in the AWS docs.
Once you’ve connected, it’s time to get BitTorrent Sync up and running. On your EC2 instance, run:
wget https://download-cdn.getsync.com/stable/linux-x64/BitTorrent-Sync_x64.tar.gz
tar xvf BitTorrent-Sync_x64.tar.gz
This will extract btsync to your current directory. btsync is packaged as an executable, so you don’t need to compile anything or install any dependencies. The first thing you should do is move btsync to an executable folder in the system $PATH.
sudo cp btsync /usr/binOnce you’ve done that, you should be able to run btsync --help, which will output all of the ways you can run the program. We’ll need to generate a config file so that it runs consistently every time. Luckily, there is a built in command for this.
sudo mkdir /etc/btsync
btsync --dump-sample-config | sudo tee -a /etc/btsync/btsync.conf
You can then open /etc/btsync/btsync.conf with your favorite text editor, such as vi or nano. You’ll notice the config file is basically JSON, but with support for comments. There are a couple of settings that you’ll want to change:
device_name: set this to something descriptive, it’s purely aesthetic.listening_port: this should be set to the random port number you opened in the security configuration earlier.use_upnp: UPnP is useful for your home computers behind a household router, but it doesn’t make sense on AWS. Set it tofalse.webui.listen: since BitTorrent Sync is the only service we’re going to run on this instance, set the listen port to80.webui.login: enter a username you’ll use for logging into the web interface.webui.password: and also a password.
Everything else can be left as is. Save the file and exit the editor. It’s time to run BitTorrent Sync!
sudo btsync --config /etc/btsync/btsync.confIf all goes well, you should see some legal warnings and BitTorrent Sync forked to background..
Configuring BitTorrent Sync
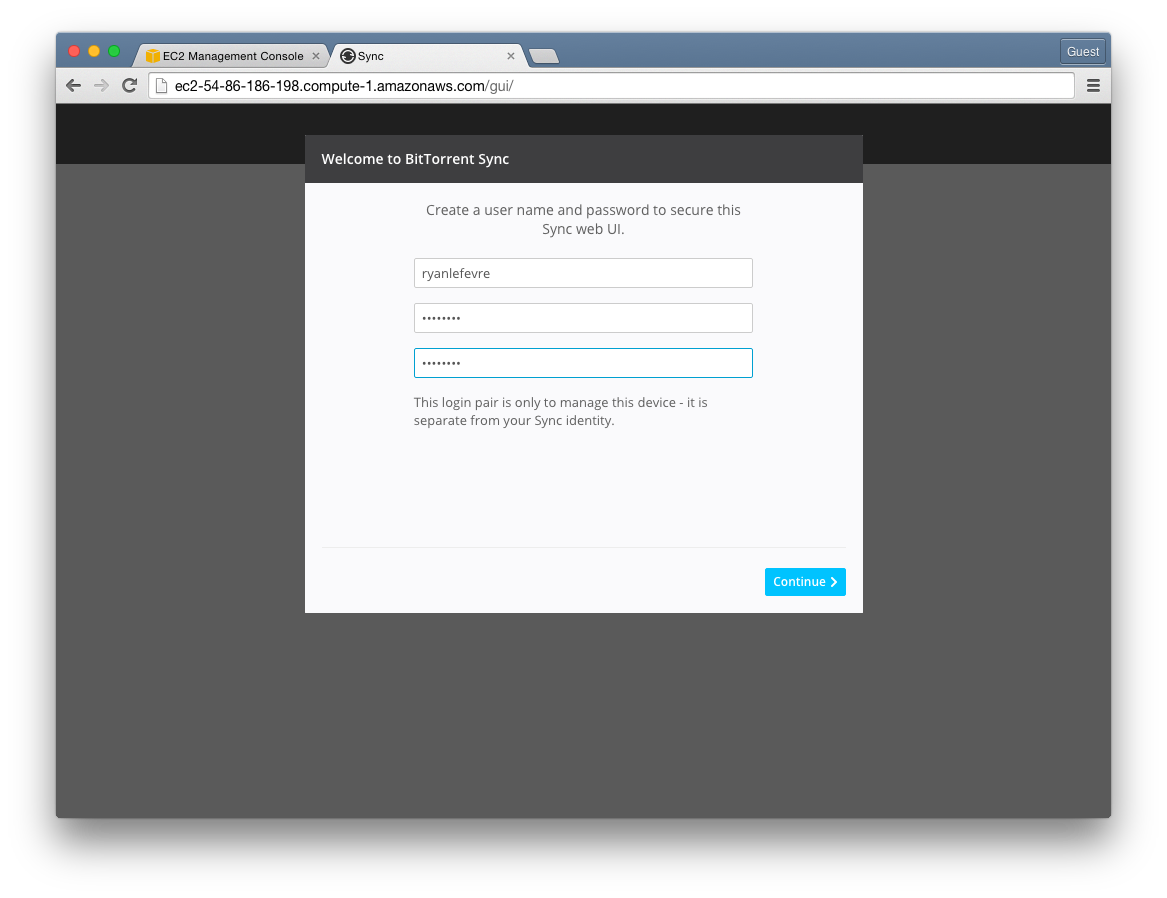
Now that BitTorrent Sync is running, you can visit the web UI in your browser. Go to your Public DNS address (the same one we used to SSH) and you’ll be greeted with a welcome message. Enter a username and password, and hit Continue.
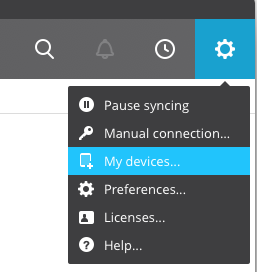
Continue through the steps. You’ll be asked for your username and password that you entered into the config. When you get to the Link devices page, click Link a device already running Sync 2.0. Here you’ll have to go to BitTorrent Sync running on your local computer, then go to “My devices” and “Link device”.
In both the web UI and your local BitTorrent Sync, go to “Link a desktop device manually”. Copy the key provided on your local computer and paste it into the web UI on AWS. It will take a bit for your devices to find and register with each other, just be patient.

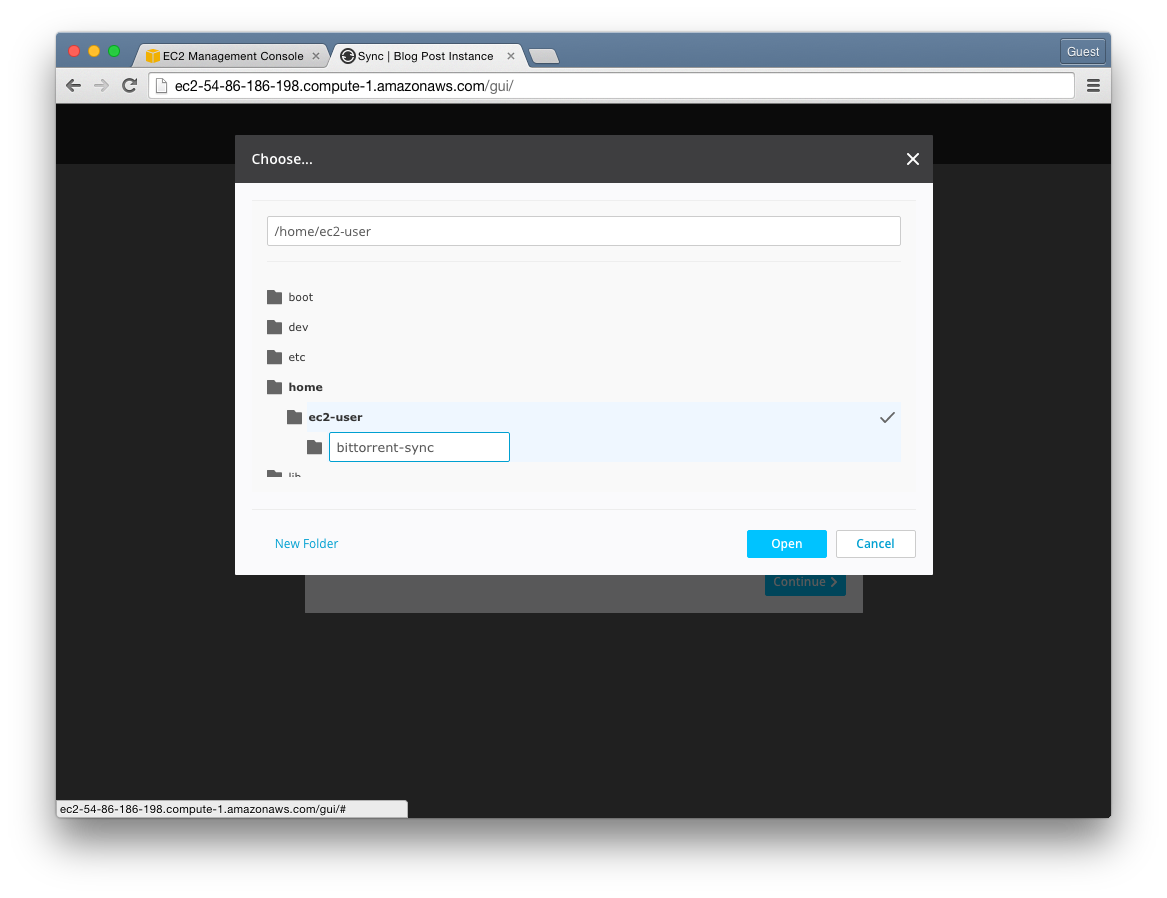
Once that’s done, set the “Default folder location” to somewhere accessible on the server. I went with /home/ec2-user/bittorrent-sync.
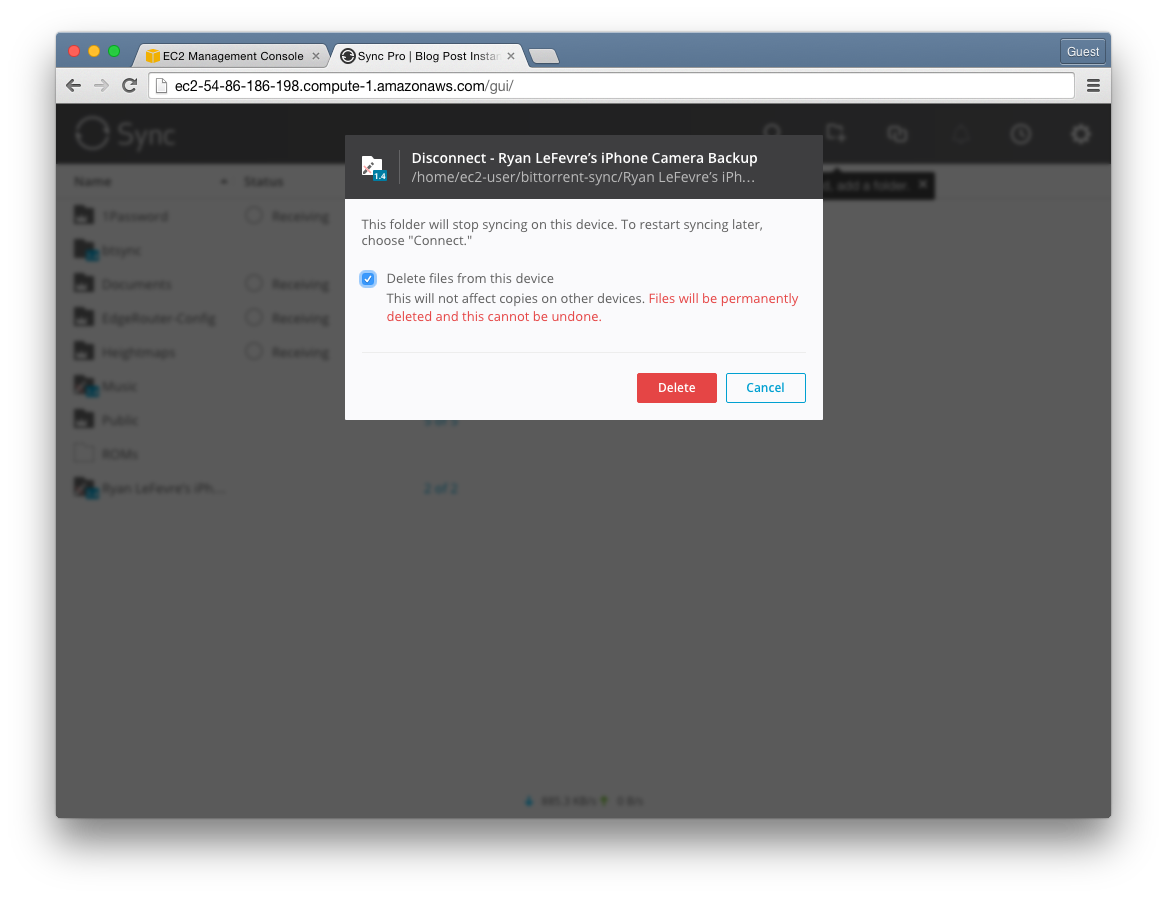
Once you hit continue, BitTorrent Sync will begin to sync your files! If there are any shares that you do not want to sync to EC2, right click on them and go to “Disconnect”. Make sure you delete the files from the devices so, if anything did sync, it’s not taking up precious space.
And that’s all there is to it. Happy syncing!
Posted July 27, 2015